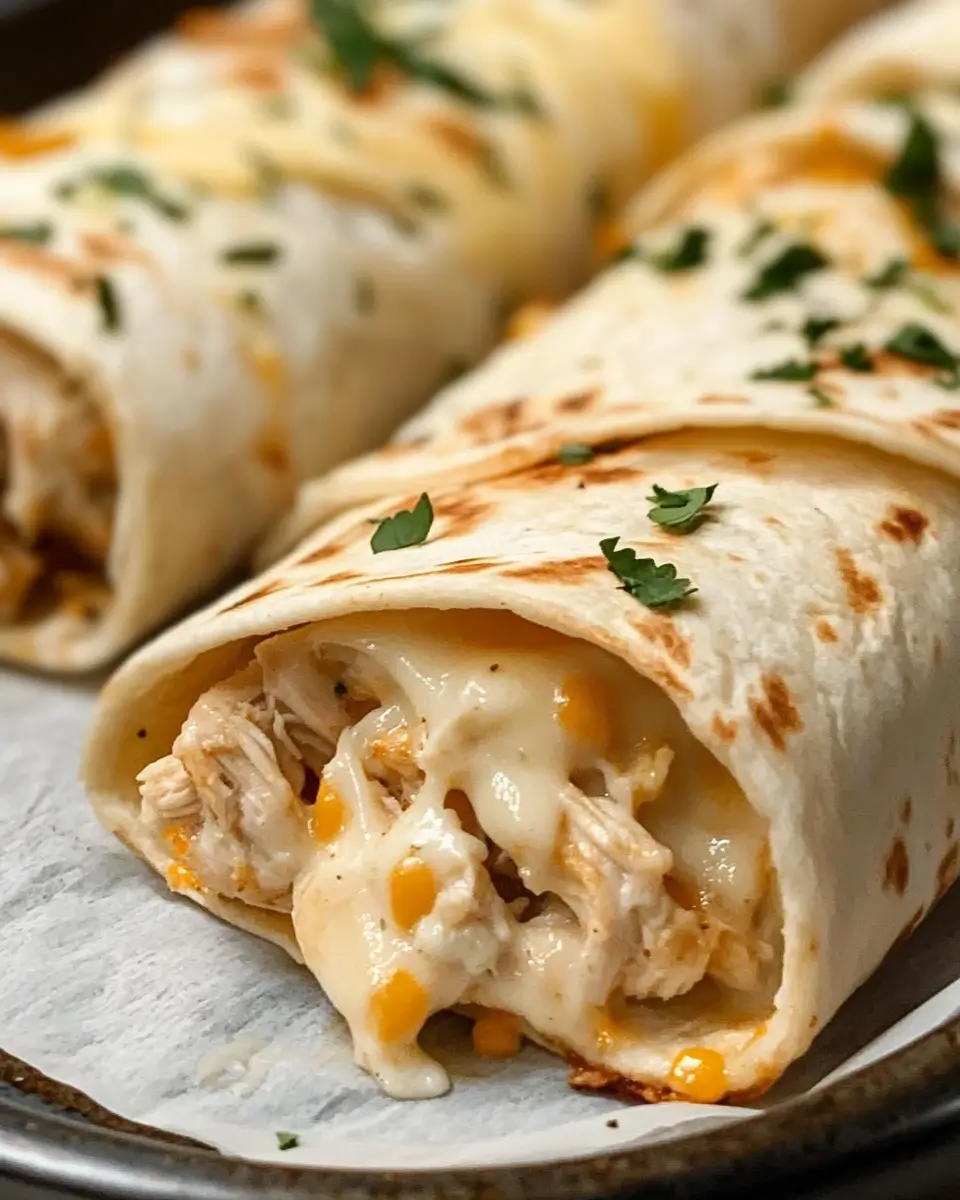
Looking for a quick, satisfying dinner option that the whole family will love? These cheesy chicken wraps are about to become your new weeknight hero! Ready in just 15 minutes, these wraps combine tender, seasoned chicken with gooey melted cheese and aromatic garlic, all wrapped in a warm tortilla. I’m excited to share this recipe that has saved countless dinners at my house when time is short but hunger is real!
Why You’ll Love These Cheesy Chicken Wraps
There’s something magical about the combination of chicken and cheese that just works perfectly every time. These wraps are incredibly versatile and customizable to suit your family’s preferences. Plus, they’re portable, making them ideal for busy evenings when you’re shuttling between activities.
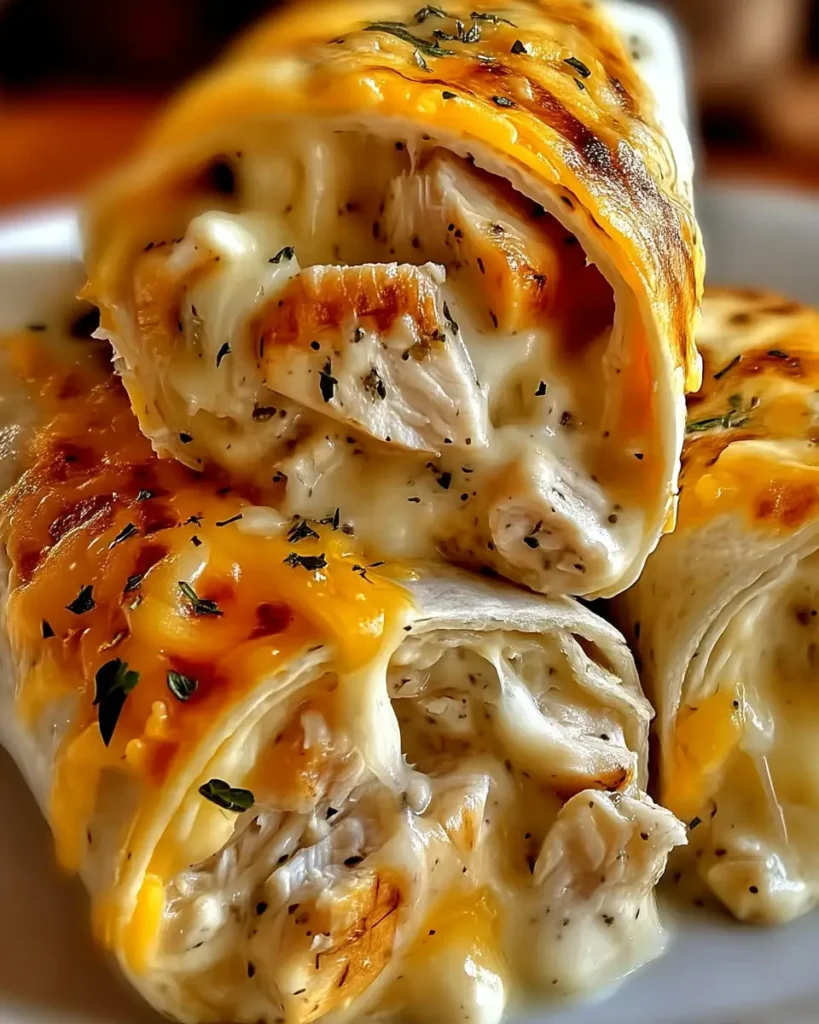
What makes these cheesy chicken wraps stand out is their incredible flavor profile despite the minimal prep time. The garlic butter adds a rich depth that elevates simple ingredients to restaurant-quality taste. The outside gets slightly crispy while the inside remains tender and juicy, creating the perfect texture contrast in every bite.
Best of all, these wraps require basic ingredients you likely already have in your kitchen. No special shopping trips needed! They’re also much healthier than fast food alternatives while satisfying those same cravings for something savory and cheese-filled.
Ingredients You’ll Need
For these delicious cheesy chicken wraps, gather these simple ingredients:
- 4 large flour tortillas
- 2 chicken breasts, diced
- 2 cups shredded mozzarella cheese
- 4 cloves garlic, minced
- 2 tablespoons butter
- 1 tablespoon olive oil
- 1 teaspoon Italian seasoning
- Salt and pepper to taste
- Fresh parsley, chopped
- 1/4 cup grated parmesan cheese
The beauty of this recipe lies in its simplicity. The combination of mozzarella and parmesan creates the perfect cheese pull that will have everyone coming back for seconds!
Tools Needed
You’ll only need basic kitchen equipment:
- Large skillet
- Cutting board
- Sharp knife
- Measuring cups and spoons
- Spatula
- Microwave (for warming tortillas)
Possible Substitutions and Additions
One of the reasons I love these cheesy chicken wraps is how easily they can be customized:
Protein options: Replace chicken with ground turkey, beef, or black beans for a vegetarian version.
Cheese varieties: While mozzarella provides that classic stretch, feel free to experiment with cheddar, pepper jack, or a Mexican cheese blend.
Tortilla alternatives: Try whole wheat tortillas for added fiber, spinach tortillas for color, or even low-carb wraps if you’re watching carbohydrates.
Flavor boosters: Add sautéed bell peppers and onions, spinach, or sliced avocado to incorporate more vegetables. A tablespoon of ranch dressing or a sprinkle of taco seasoning can also take these wraps in exciting new directions!
Step-by-Step Cooking Instructions
Preparing the Chicken Filling
- Start by heating olive oil in a large skillet over medium heat.
- Add your diced chicken breasts to the pan and season generously with salt, pepper, and Italian seasoning.
- Cook the chicken for about 6 minutes until it’s golden brown and cooked through (internal temperature should reach 165°F).
- Transfer the cooked chicken to a plate and set aside.
- In the same skillet (no need to clean it!), melt the butter and add minced garlic.
- Sauté the garlic for about 1 minute until fragrant, being careful not to burn it.
- Return the chicken to the pan and stir to coat with the garlic butter mixture.
Assembling and Cooking the Wraps
- Warm your tortillas slightly in the microwave for about 10-15 seconds to make them more pliable.
- Place equal portions of the chicken mixture onto each tortilla.
- Top generously with mozzarella and parmesan cheese.
- Fold in the sides of the tortilla, then roll up tightly from the bottom.
- Heat a clean skillet over medium heat (no oil needed).
- Place the wraps seam-side down in the skillet.
- Cook for about 2 minutes on each side until golden brown and the cheese is melted.
- Sprinkle with fresh parsley before serving for a pop of color and freshness.
What to Serve with Cheesy Chicken Wraps
These cheesy chicken wraps are satisfying on their own, but pairing them with simple sides elevates the meal:
- A crisp green salad with light vinaigrette
- Sweet potato fries or regular french fries
- Roasted vegetables like broccoli or asparagus
- Tomato soup for a comforting combo
- Mexican rice or cilantro-lime rice
For a fun family dinner, create a wrap bar with various toppings and let everyone build their own custom creation!
Pro Tips for Perfect Cheesy Chicken Wraps
After making these wraps countless times, I’ve learned a few tricks:
- Don’t overcrowd the pan when cooking chicken – it will steam rather than brown.
- Pat chicken dry before cooking for better browning and flavor development.
- Use freshly minced garlic rather than pre-minced for the best flavor.
- Let the wraps rest for a minute after cooking to allow the cheese to set slightly, making them easier to handle.
- Use a serrated knife to cut the wraps for cleaner slices that showcase the delicious filling.
- Make a double batch of the chicken mixture and refrigerate for even quicker meals later in the week.
Storage Instructions
These cheesy chicken wraps are best enjoyed fresh from the skillet, but leftovers can still be delicious:
Refrigerator: Store assembled but uncooked wraps in the refrigerator for up to 24 hours, wrapped individually in plastic wrap.
Reheating: For already cooked wraps, reheat in a 350°F oven for 10 minutes or in a skillet over medium-low heat until warmed through. Avoid microwaving if possible as it can make the tortilla soggy.
Freezing: You can freeze the chicken mixture separately for up to 3 months. Thaw overnight in the refrigerator before assembling fresh wraps.
Did You Know?
Wraps as we know them today gained popularity in the United States during the 1980s, though various cultures have been wrapping foods in flatbreads for centuries. The modern wrap sandwich is believed to have originated in Southern California, where it was initially marketed as a healthier alternative to sandwiches.
The popularity of chicken wraps specifically rose alongside the growing interest in convenient, portable meals that could be eaten on the go – perfect for our increasingly busy lifestyles!
Nutritional Information
Per serving (1 wrap):
- Calories: Approximately 450
- Protein: 30g
- Carbohydrates: 25g
- Fat: 25g
- Fiber: 2g
- Sodium: 800mg
Exact values may vary depending on specific ingredients used.
Frequently Asked Questions
Q: Can I make these wraps ahead of time?
A: Yes! Prepare the chicken mixture up to 2 days ahead and store in the refrigerator. Assemble and cook the wraps just before serving.
Q: How do I prevent my wraps from falling apart?
A: Make sure not to overfill them, and fold in the sides before rolling. Cooking them seam-side down first helps seal the wrap closed.
Q: Can I make these wraps without a skillet?
A: Absolutely! You can bake assembled wraps in a 375°F oven for 10-12 minutes, or until golden and crispy.
Q: Are these suitable for meal prep?
A: The chicken mixture works great for meal prep. Store it separately and assemble fresh wraps throughout the week for best results.
Time to Wrap It Up!
These cheesy chicken wraps truly deliver on both flavor and convenience. With their perfect combination of tender chicken, aromatic garlic, and gooey cheese, they’ve become a staple in my dinner rotation. Whether you’re feeding hungry kids after school activities or looking for a quick lunch option, these wraps won’t disappoint!
I’d love to hear how these cheesy chicken wraps turned out for you! Did you try any exciting variations? Share your experience in the comments below, and don’t forget to save this recipe for those busy weeknights when you need dinner on the table fast. Happy cooking!